VNC visit pcDuino
New Ubuntu version of pcduino
Now the VNC is already installed in new OS, and auto-start enabled.
Prepare
- Wifi dongle
- USB keyboard
- USB Power
- USB Mouse
On PCduino Side
- Open LXterminal
- Install the X11VNC
sudo apt-get install vino vinagre x11vnc
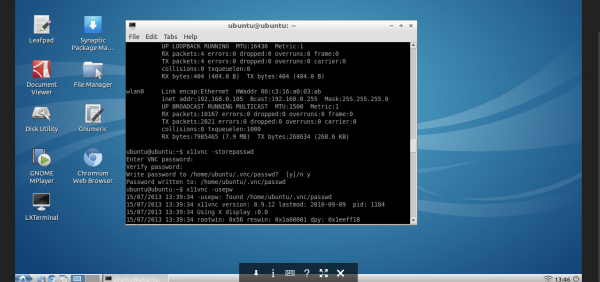
- Set Password (refer to the screenshot below)
x11vnc -storepasswd
- Check your local IP address of PCduino
ifconfig
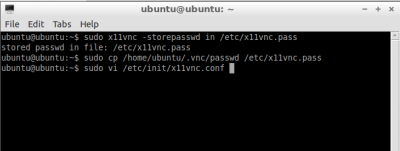
- Change X11VNC password store place
sudo x11vnc -storepasswd in /etc/x11vnc.pass
- Copy the password stored into the X11VNC folder
sudo cp /home/ubuntu/.vnc/passwd /etc/x11vnc.pass
- Now you can start X11VNC, now leave this terminal always open (refer to the screenshot below)
x11vnc -usepw
- Make a new startup file
sudo vi /etc/init/x11vnc.conf
- Place the following word into the conf, type i for inserting mode, type esc key to quit editing mode, type ZZ (case sensitive) to quit
start on login-session-start

script
x11vnc -display :0 -auth /var/run/lightdm/root/:0 -forever -bg -o /var/log/x11vnc.log -rfbauth /etc/x11vnc.pass -rfbport 5900
end script
On Your local Laptop Side
- Install the chrome plugin:VNCview
Note
- If you didn't do it successfully, then just do all the step over again, will help.


