AVR USB JTAG ICE Programmer
Graduation
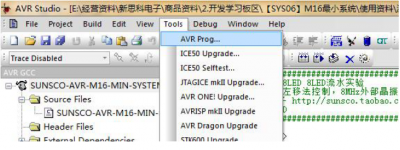
- Work together with Avr studio 4.17, if your version is not 4.17, need to refresh firmware once, this is can be done automatically by avr studio in the main menu.
- Enter in the AVR studio menu, plug the JTAG, then you should enter into the firmware upgrading menu during the red led flashing on the JTAG (about 10 secs)
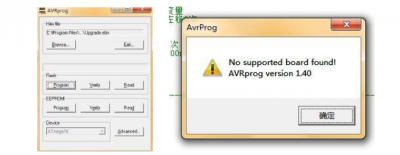
- If you see the following error, which means either you miss the red led flashing time, or your COM port is not correctly set (within 1-4 COM)
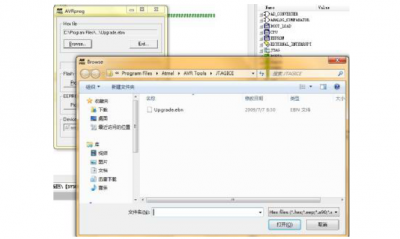
- Select the correct firmware to upload:
- Once the JTAG finished its upgradation, the red LED will keep constant ON.
Installation
- USB Driver (CH340/CH341 USB-TTL)
- please make sure the device use a Com with number less than four, otherwise it's may not stable, and do not choose a COM that conflict with others.
- You will need restart computer after installation
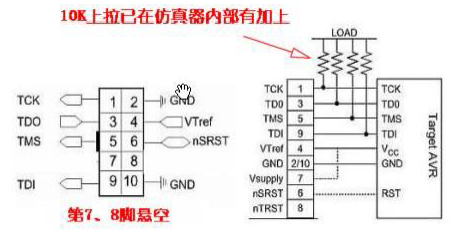
- 10K pull-up resistor is already included in the device, not necessary add anymore.
- Pin 7 and 8 should stay NC.
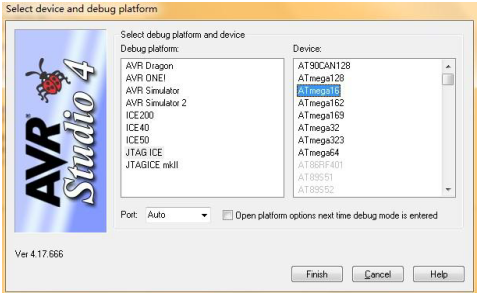
Working with AVR studio and minimum system
Stop power supply to external device
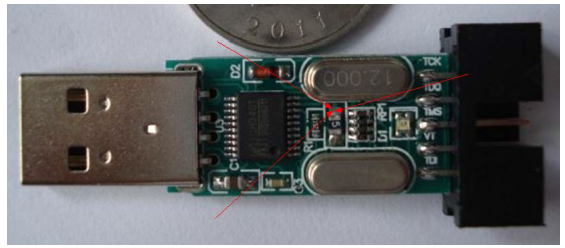
you have to remove the resistor in the device like shown below
