DIY Arduino
Basic Minimal Arduino With Crystal
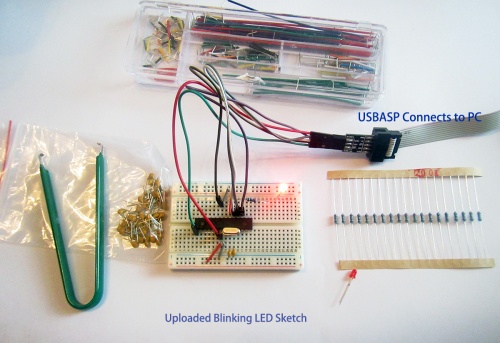
BOM
- Atmega8L-8PU cost $1.3 from us(Atmega8-16PU, Atmega8A-PU, etc should all works)
- USBASP and 10-6 Pin Convert
- Crystal 16Mhz
- Capacitor 22pf *2
- Jumper wires kit
- Breadboard
For further LED sketch testing:
Wiring
Understand the pins
The pins of atmega 8 / 168 /328 are the same, the only difference is the Flash size.
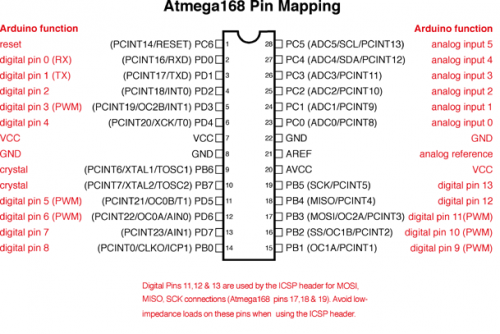
Connecting
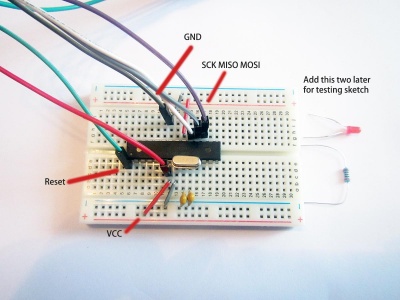
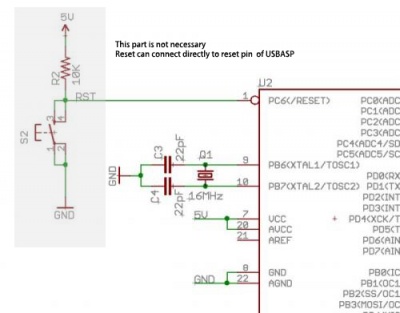
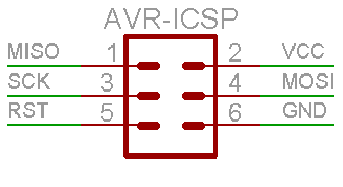
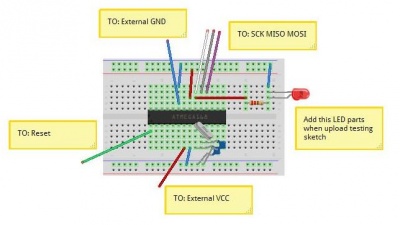
From USBASP to IC (atmega8)
- VCC to VCC (7) + AVCC (20)
- GND to GND (8) + GND (22)
- SCK to SCK (13)
- MISO to MISO (12)
- MOSI to MOSI (11)
- Reset to Reset
- Cystal to Pin 9 and 10, add two Capacitor 22pf to GND
For the pins on IC on breadboard:
 For the pins on USBASP:
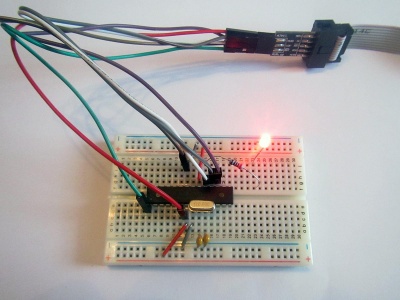
And it should finally looks like this:
Burn Bootloader
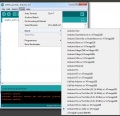
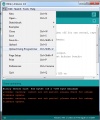
After made the good wiring, choose the Arduino NG as board, and USBASP as programmer, click burn and finish.
uploading demo sketch
After you finish burning the bootloader, now you can add the testing LEDs and relevant resistor 220R, after you add it, the LED should stay off just after the new bootloader.
- Choose Blink Sketch
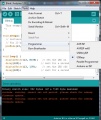
- Use "programmer" to upload sketch
- Well Done
Futher Note
- Add 105 capacitor between VCC and GDN will make the system more stable.
Other Version
Standalone arduino on mini breadboard:
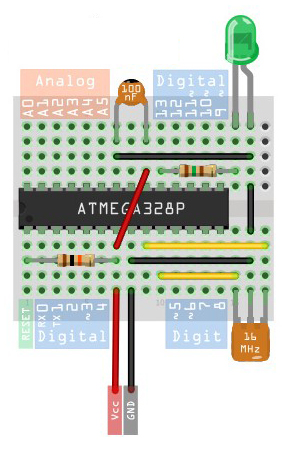
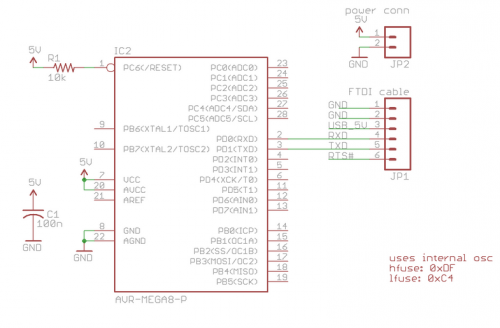
Basic Minimal Arduino Without Crystal
Key features
- It relies on the internal 8MHz oscillator (like the Lilypad Arduino).
- You will need an extra FT232 Programmer to download sketch
Differences with Arduino NG
So a modified Arduino bootloader needs to be programmed into the ATmega8. The bootloader is a small program on the chip that listens to the serial port on power up and can reprogram the rest of the chip if instructed to. Here, a variant of the standard “Arduino NG” bootloader is used. The modifications are: - uses internal 8MHz oscillator (no external part required) - serial speed is 38400 instead of 19200 for faster uploads
Fuse Set
You can use this calculator to find the fuse for this internal used crystal - http://www.engbedded.com/fusecalc
BootLoader for Minimal Arduino
Files for Minimal Arduino ATmega8 bootloader:
- atmega8_noxtal.zip
Unzip this file into the “arduino-0015/hardware/bootloaders” directory of your Arduino installation to create the directory “atmega8_noxtal”. The zip file contains:
- ATmegaBOOT.hex — the actual bootloader to program
- ATmegaBoot.c — the source code of the bootloader
- Makefile — Makefile to produce & program the bootloader
Burning Bootloader
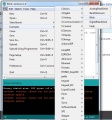
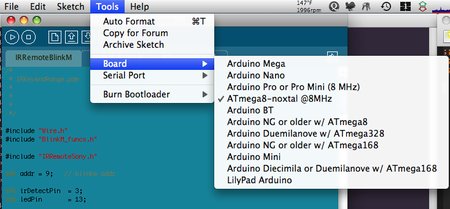
The next time you start up the Arduino software, you should have a new entry of “ATmega8-noxtal @8MHz” in the “Boards” menu. It will look something like this:
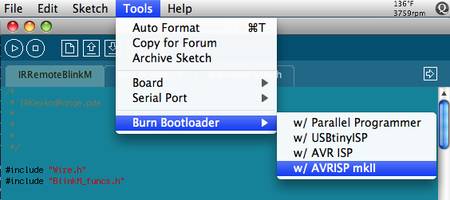
 From this point you could burn the bootloader onto the ATmega8 chip by going to the “Burn Bootloader” menu and selecting “w/ AVRISP mkII”.
Configuring Boards.txt For Arduino IDE
Because this minimal Arduino setup isn’t exactly like any other previous Arduino boards, we need to tell the Arduino software how to talk to it. In the Arduino directory, there is a file called “arduino-0015/hardware/boards.txt” that does this. Open that file in a text editor and add these lines to it:
##############################################################

atmega8noxtal.name=ATmega8-noxtal @8MHz

atmega8noxtal.upload.protocol=stk500
atmega8noxtal.upload.maximum_size=7168
atmega8noxtal.upload.speed=38400

atmega8noxtal.bootloader.low_fuses=0xe4
atmega8noxtal.bootloader.high_fuses=0xc4
atmega8noxtal.bootloader.path=atmega8_noxtal
atmega8noxtal.bootloader.file=ATmegaBOOT.hex
atmega8noxtal.bootloader.unlock_bits=0x3F
atmega8noxtal.bootloader.lock_bits=0x0F

atmega8noxtal.build.mcu=atmega8
atmega8noxtal.build.f_cpu=8000000L
atmega8noxtal.build.core=arduino
Build
A normal Arduino board contains support components that make it easy to use. If you want a smaller footprint, you can get one of the many Arduino work-alike boards. But if you want a really small footprint, and reuse your old parts, you can make an Arduino board using just five components: - ATmega8 chip - single 10k resistor - single 0.1uF capacitor - tiny breadboard - some hookup wire
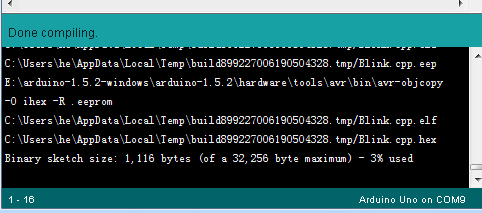
How to find hex file as sketch, and upload to Arduino
- In the menu - "file" - "preference", you can find a option called "show verbose output during" and select "compilation" and "uplaod"
- when you uploading, you should see the hex file in which directly, you any programmer tools like xloader to upload your hex file.
